How to Clean a Pool Cartridge Filter
To clean a pool cartridge filter: turn off and electrically isolate the pump, open the manual air-relief valve and verify the filter is fully depressurized, open the housing exactly as its manufacturer specifies, remove the pleated cartridge, rinse it gently from top to bottom with a garden hose, inspect the pleats and seals, then reassemble and restart using the model-specific procedure. Never loosen a filter clamp while the system is pressurized.
This guide is for residential cartridge-type circulation filters, not sand filters, DE (diatomaceous earth) filters, or the debris basket inside a robotic pool cleaner. Tank clamps, lid threads, drain plugs and start-up steps vary by model; your filter manual takes priority over a generic checklist.
Quick checklist: cleaning a pool cartridge filter
- Identify your filter brand and model; locate its current service manual.
- At a consistent pump speed, compare filter pressure with the clean baseline and note water flow.
- Switch the pump off, disable timers/automation, isolate electrical power and release trapped pressure.
- Drain and open the tank only after confirming zero pressure by the manufacturer’s procedure.
- Lift out the cartridge(s), inspect the housing, and rinse between pleats using a normal garden hose.
- Use a manufacturer-approved filter cleaner only when oils or persistent residue justify it; rinse thoroughly.
- Inspect the pleats, end caps, bands, O-ring, clamp and air-relief components.
- Reassemble precisely, purge air as instructed, check for leaks, and log the new clean pressure.
Before cleaning: make sure you have a cartridge filter
A cartridge filter usually has one or more removable pleated elements inside a pressure-rated housing. It traps suspended particles in the media. Unlike a sand or DE system, a typical cartridge filter is not cleaned by backwashing; the elements must be removed for cleaning. Check the tank label, part number, and owner’s manual before touching any clamp.
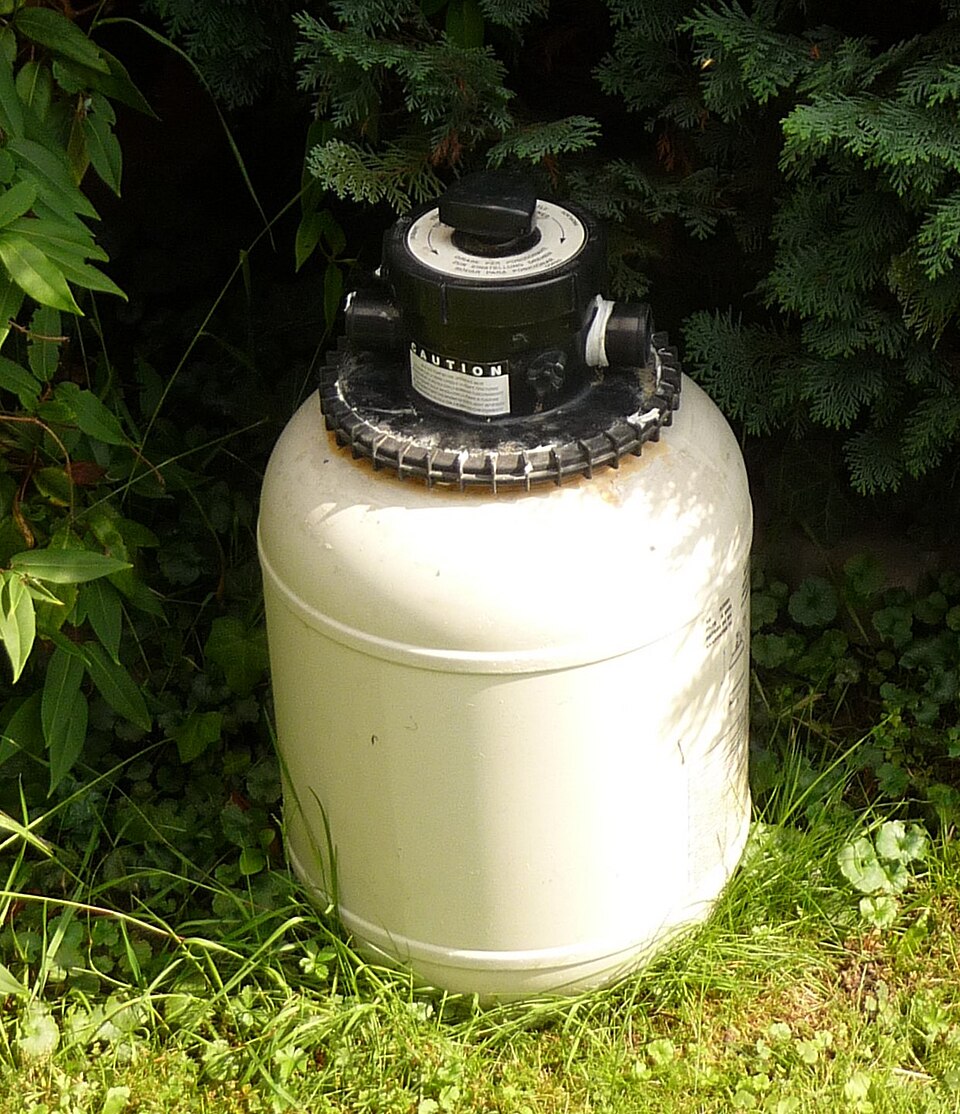
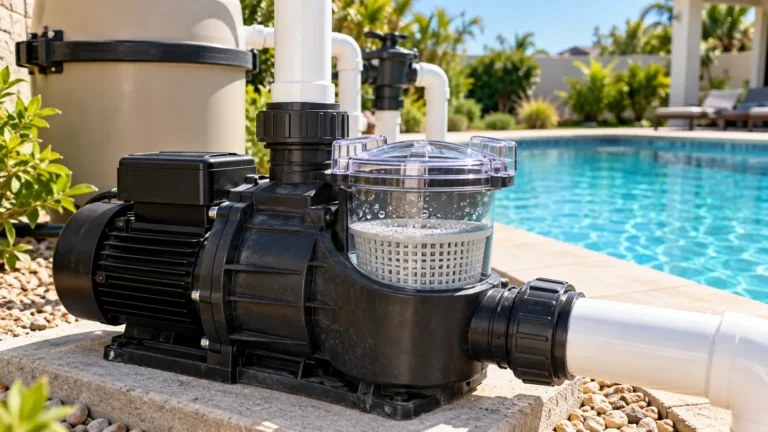
A sand filter often has a multiport selector with settings such as FILTER, BACKWASH and RINSE. If that describes your equipment, do not follow this cartridge-disassembly procedure. The image below is a sand filter shown deliberately as a visual contrast, not as an example of a cartridge tank.
When should you clean a pool cartridge filter?
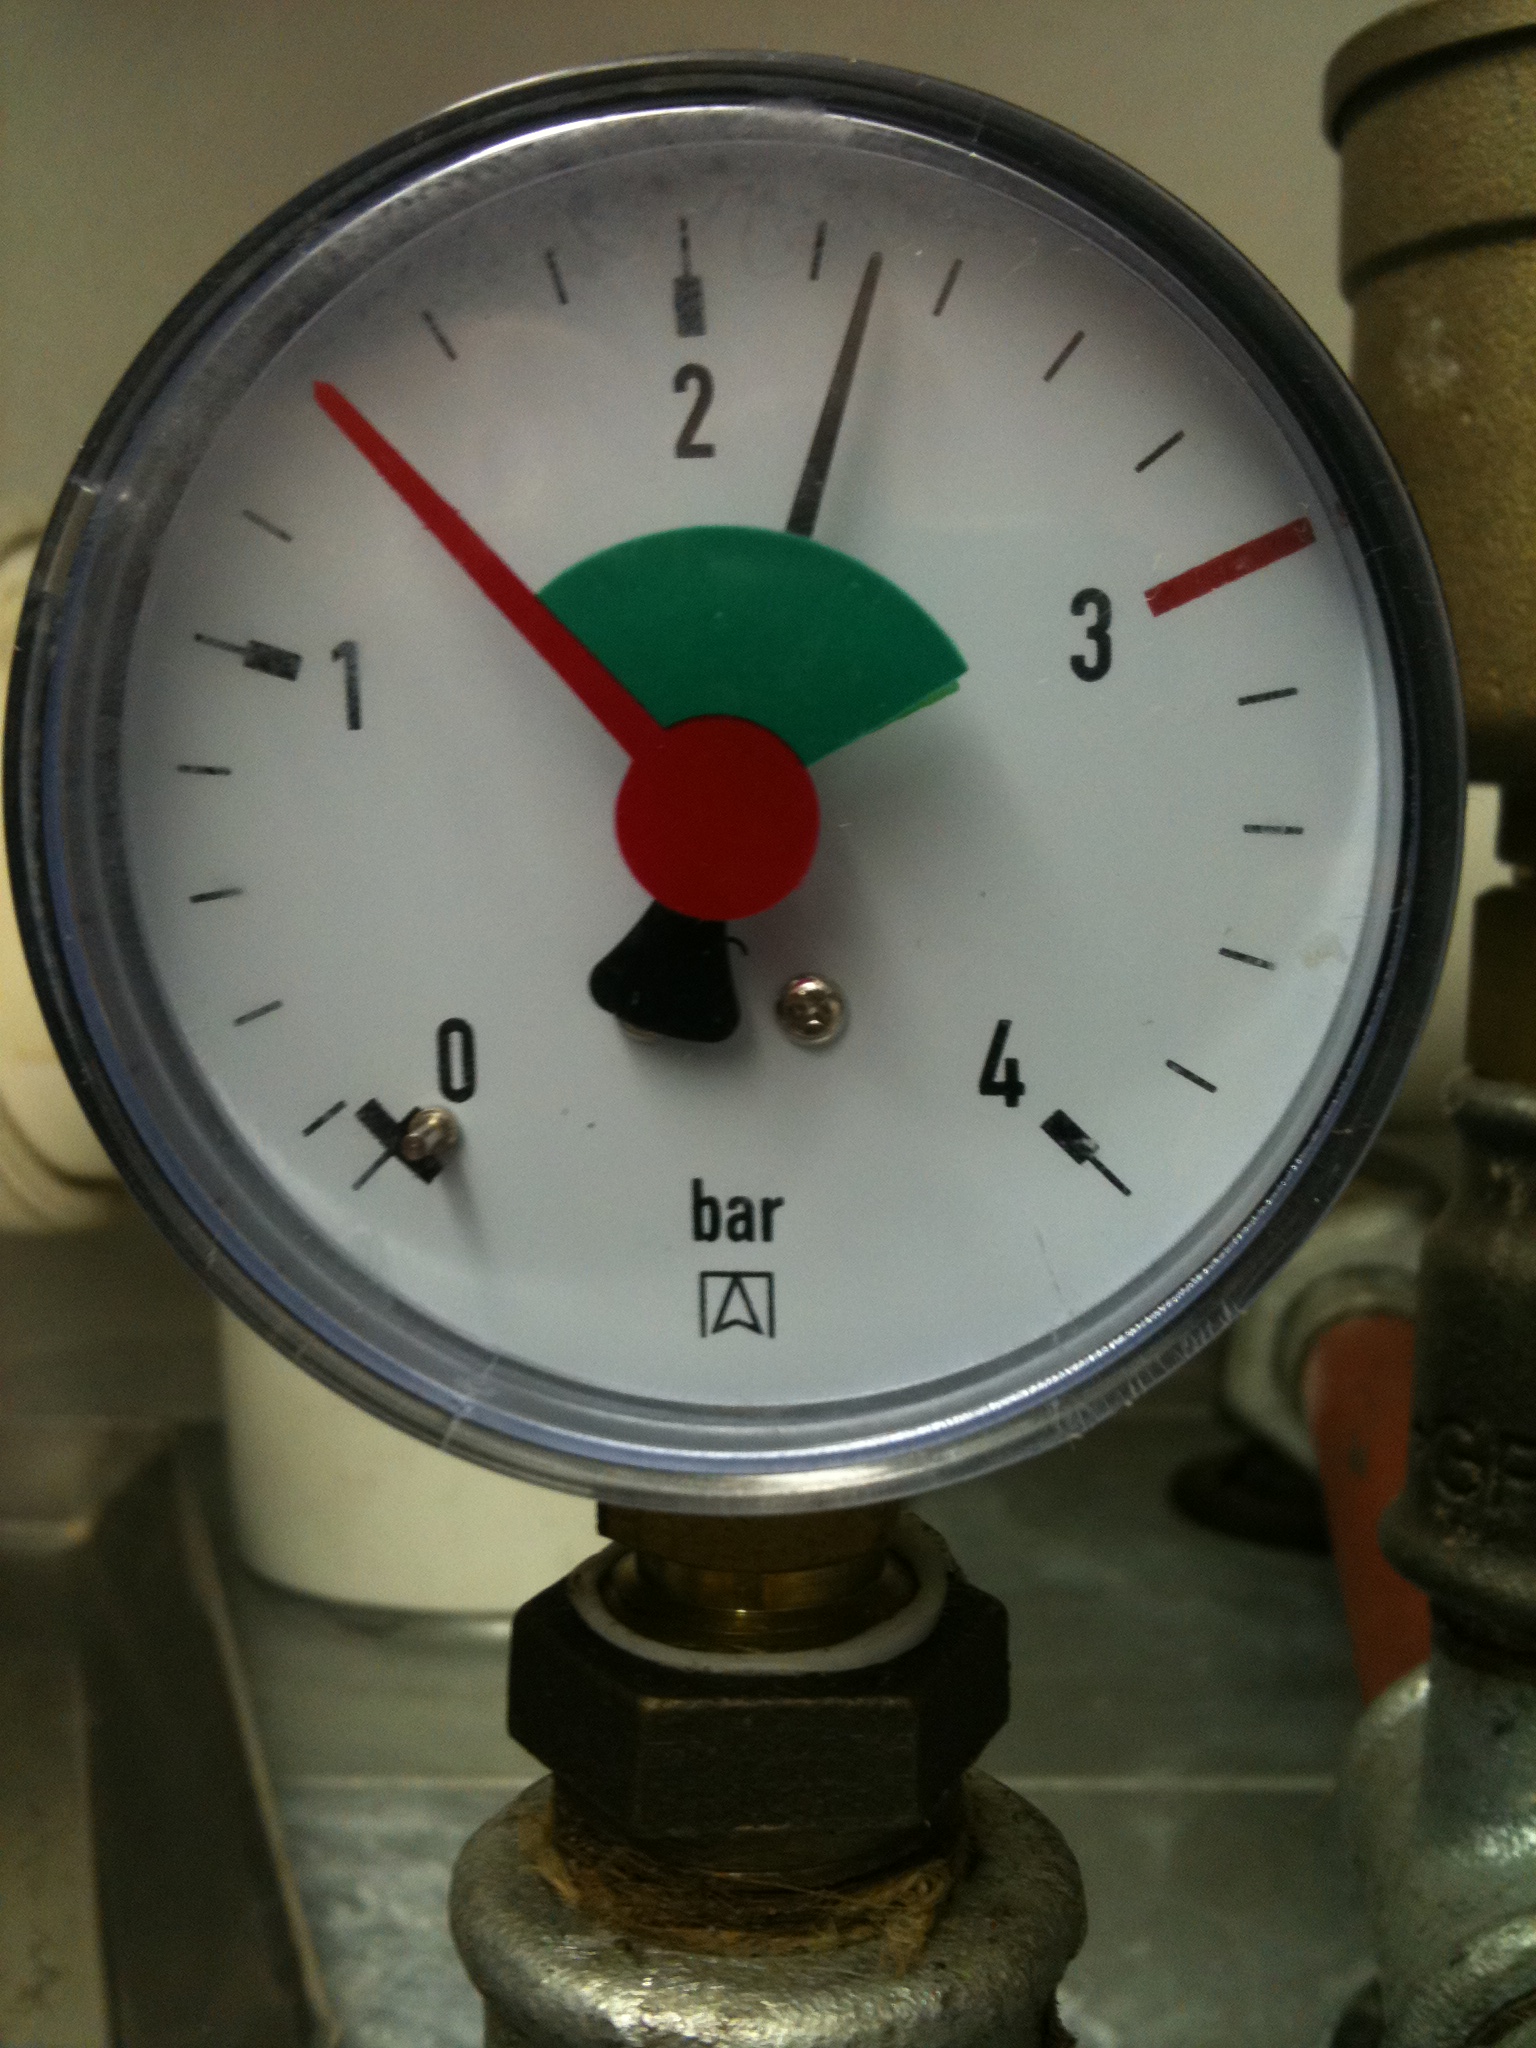
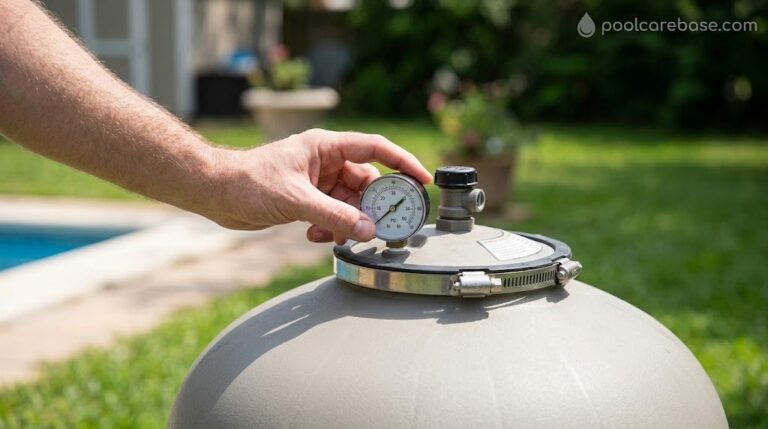
Use your filter’s clean starting pressure as the main reference rather than an arbitrary calendar rule. On Pentair Clean & Clear Plus equipment, the cleaning guide calls for service when the gauge is approximately 10 psi (69 kPa) above the original starting pressure or when flow drops substantially. Hayward SwimClear guidance describes a similar model-dependent threshold of roughly 7–10 psi. Those are manufacturer examples, not a universal safe operating pressure for every tank.
For example, if your clean filter reads 12 psi at a particular pump speed, a Pentair-style 10-psi rise would point to cleaning at about 22 psi on that applicable model. It does not mean every pool should run at 12 or 22 psi. With a variable-speed pump, compare readings at the same RPM and valve settings. If the pressure gauge is stuck, leaking, or reads implausibly, do not trust it as proof that the tank is depressurized.
| Observation | What it suggests | Next action |
|---|---|---|
| Pressure has climbed above the model’s cleaning threshold | Media may be loading with debris | Plan a safe cartridge cleaning after checking the manual |
| Return jets weaken while pressure rises | Filter restriction is plausible | Inspect cartridge condition and downstream valves |
| Pressure is unusually low with poor flow | May be suction starvation, an air leak, or a pump issue | Do not assume a dirty cartridge; diagnose circulation first |
| Water looks cloudy but pressure is unchanged | Chemistry, circulation or filtration may be involved | Test water and inspect the system; do not rely on rinsing alone |
| Gauge remains at zero while pump runs | Faulty gauge, no flow, or blocked gauge port | Stop and investigate before opening the vessel |
Keep a maintenance log with the date, pump RPM, clean pressure and next cleaning threshold. For a broader routine, see our pool maintenance schedule.
What you need before you start
- Your filter’s exact owner’s manual and any required model-specific tools.
- Garden hose with a straight-stream or gentle spray nozzle (never a pressure washer).
- Clean, level place to set cartridges without damaging their pleats.
- Soft brush only if explicitly permitted by the filter maker; avoid stiff bristles.
- Clean cloth, gloves and eye protection; a bucket or container if approved cleaner is needed.
- Manufacturer-compatible replacement O-ring, cartridge or seals if inspection shows damage.
- Pen or phone to record clean pressure and pump RPM.
Safety first: A pool filter is a pressure vessel. Pentair warns that compressed air can separate a lid from the tank with serious force. If you cannot identify the model, cannot isolate electrical power, cannot operate the relief valve, see a damaged clamp, or cannot establish zero pressure, stop and call a qualified pool technician. Never stand over the lid during restart.
How to clean a pool cartridge filter step by step
1. Stop the pump and prevent automatic restart
Turn the pump off. Disable the timer, automation, freeze-protection or remote controls that could restart it, and disconnect power at the breaker in accordance with your equipment instructions. Do not assume that pressing a control-panel button makes the equipment safe to open. Keep children and bystanders away from the equipment pad.
2. Release pressure and drain the tank
Follow the model-specific air-relief instructions while standing clear of the filter. Wait for pressure to dissipate, and confirm the gauge reads zero; a defective gauge is not sufficient evidence. Use the specified drain plug and valve positions to drain the tank. Do not remove a clamp, band, union or lid to “let the air out.” The manual air-relief valve is provided for that purpose.
3. Open the housing according to its exact manual
Some filters use a spring-loaded band clamp; others use threaded retaining rings or different lid assemblies. Never borrow torque values or clamp positions from a different brand. Keep the lid, O-ring, fasteners and small manifold parts organized. Do not pry the lid with a screwdriver if the manufacturer warns against it; damaging the seal can cause leaks or unsafe reassembly.
4. Remove and inspect the cartridge elements
Lift each cartridge straight out or use the gentle motion specified for your model. If the tank contains several elements, note their orientation and the position of top and bottom manifolds. Inspect the pleats for compacted dirt, torn fabric, broken bands, collapsed cores, cracked end caps or distorted seals. A visibly damaged cartridge should be replaced with the correct part rather than forced back into service.
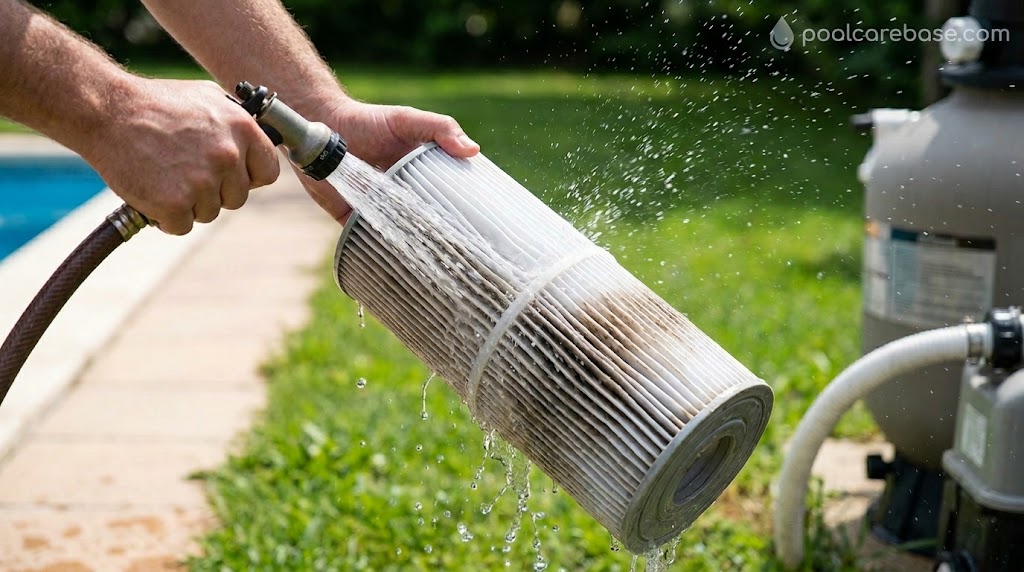
5. Rinse pleats from top to bottom with a garden hose
Place the element upright where rinse water can drain without running into the pool. Using a normal garden hose and a straight-flow nozzle, work from the top down, rotating the cartridge so water reaches between every pleat. Pentair’s cleaning guide depicts a roughly 45-degree spray angle. Rinse the inside and outside where your manual permits, and continue until visible debris is flushed away. A pressure washer can tear or deform the media; Hayward specifically warns against pressure washing.
Use patience rather than force. Avoid wire brushes, stiff scrapers and nozzles pressed against the fabric. A cartridge that still looks dark may be stained rather than blocked; assess water flow, pressure and media integrity rather than scrubbing until it appears perfectly white.
6. Decide whether a deeper clean is actually needed
Body oils, sunscreen and lotion can leave residues that plain water does not remove. If the manufacturer recommends a compatible commercial cartridge-cleaning product, follow its label and the filter manual, including protective equipment, soak time and disposal instructions. Thoroughly rinse the cartridge afterward. Do not improvise a chemical mixture or combine cleaners.
Mineral scale requires a different diagnosis from oily dirt. Some manufacturers publish acid-cleaning procedures, but corrosive acids can cause burns and incompatible or poorly sequenced cleaning can damage media. For a homeowner without the exact approved procedure and suitable protective setup, have a pool professional evaluate the cartridge instead of attempting an acid soak. Never mix acid with chlorine products, cleaners or other pool chemicals.
7. Inspect the tank, manifold, seals and clamp
Remove loose sediment from the bottom of the housing and check the internal manifolds for cracks or missing parts. Inspect the tank O-ring for cuts, flattening, swelling and grit. Clean and seat it only as instructed; use lubricant only if the manual specifies a compatible product. Examine the air-relief assembly and clamp components. If a band, spring, bolt or tank flange is damaged, do not restart the system.
8. Reinstall elements and close the filter correctly
Seat the cartridge(s) and manifolds in the correct orientation. Refit the lid and its O-ring without pinching or shifting the seal. Apply the exact clamp, ring or fastener procedure in your own model’s manual; do not guess torque or tighten while the system is operating. Close the drain as directed. If you cannot verify a correct lid-and-clamp assembly, call a technician.
9. Restart, purge air and check for leaks
Follow the manufacturer’s startup sequence. Many cartridge filters require the manual air relief to remain open during filling until a steady stream of water appears, after which it is closed as instructed. Stand clear of the tank. If water leaks from the lid joint, air fails to purge normally, the pressure behaves unexpectedly, or the pump cannot establish circulation, shut down immediately and investigate safely. Pentair’s guide contains specific startup warning signs and timing for its models; do not assume those timings apply to all brands.
Once stable, record the cleaned filter’s pressure at a known pump RPM. This becomes a useful comparison for the next service. If the pump fails to establish water flow after reassembly, use our pool pump not priming troubleshooting guide rather than repeatedly dry-running it.
Cartridge cleaning vs. replacement: how to decide
Cleaning removes accumulated dirt but cannot restore damaged filter fabric or broken internal structure. A cartridge may need replacement when the pleats are torn, the center core is crushed, end caps are cracked, bands are broken, or the cartridge repeatedly restricts flow despite correct cleaning and otherwise healthy circulation. There is no reliable universal replacement date; workload, water quality, storage, material and manufacturer recommendations matter.
| What you see | Usually try | Replace or call a pro when |
|---|---|---|
| Loose leaves, sand or pollen between intact pleats | Gentle hose rinse | Debris remains deeply embedded and flow cannot recover |
| Greasy film or sunscreen residue | Approved cartridge cleaner, then thorough rinse | Cleaning does not restore performance |
| Pleat tears, separated end caps, broken bands | Do not patch with glue or tape | Replace with an exact compatible cartridge |
| Pressure returns high soon after cleaning | Check pool water condition and cartridge sizing | Persistent restriction or circulation fault needs diagnosis |
| Leaks around the filter lid | Stop pump; check seal and closure per manual | Damaged vessel, clamp or uncertain closure |
Mistakes that shorten cartridge life or create safety risks
- Opening a pressurized filter: never loosen the lid or clamp before power isolation and complete pressure release.
- Using a pressure washer: forceful jets can permanently damage pleated media.
- Cleaning by calendar alone: pressure trends and manufacturer guidance are more meaningful than “every two weeks” for every pool.
- Comparing PSI at different pump speeds: changing RPM changes the reading even with the same filter condition.
- Assuming a high reading always means a dirty cartridge: restricted return plumbing, valve position or an inaccurate gauge may be involved.
- Mixing cleaners or guessing acid concentrations: corrosive reactions and cartridge damage are avoidable hazards.
- Restarting with a compromised seal or clamp: stop until defective components are replaced and the tank is properly secured.
Troubleshooting after cleaning
Pressure is still high
Confirm you are comparing at the same RPM and valve positions. A cartridge may be clogged with oils or minerals, incorrectly seated, undersized or damaged; a return-side restriction can also raise pressure. Check the model’s pressure range and do not continue operating beyond its rated limits. If pressure remains abnormal, turn the system off and get a technician’s diagnosis.
Pressure is low and return flow is weak
Low pressure with weak circulation often points upstream of the filter: a low pool water level, obstructed skimmer or pump basket, air entering the suction side, or pump priming trouble. Cleaning the cartridge again may not help. Check the basic circulation path with the pump off and use the correct equipment troubleshooting guide.
Water leaks from the lid after restart
Shut down immediately and release pressure before touching the assembly. Check the O-ring seating and the model-specific closure procedure only after it is safe. Never tighten a clamp on a running, pressurized filter. Damaged tank components require qualified service.
Water stays cloudy despite a clean filter
A cartridge traps particles; it does not replace proper sanitization or water balance. Verify circulation and test your pool water. Follow CDC home-pool testing guidance for chlorine and pH; do not swim if sanitation is inadequate. Persistent cloudiness can require additional diagnosis rather than repeated filter rinses.
Frequently asked questions
Can I use a pressure washer to clean a pool cartridge filter?
No. A normal garden hose is the safer choice. Hayward warns that pressure washing can damage cartridge elements, and Pentair describes rinsing with a garden-hose nozzle. High-pressure equipment is unnecessary for routine pleat cleaning.
How often should I clean my cartridge filter?
There is no one-size-fits-all number of weeks. Track the clean starting pressure and follow your model’s pressure-rise or reduced-flow guidance. Heavy pollen, storms, bather load and debris can shorten the interval. Compare readings at the same pump speed.
Do cartridge filters need backwashing?
Generally no. Most residential cartridge filters require the elements to be removed and rinsed. Backwashing instructions apply to other filter designs and should not be improvised on a cartridge housing.
Can I soak my pool cartridge filter overnight?
Only when the filter manufacturer and the chosen cleaner’s label permit the soak and specify how to rinse afterward. Never leave mixed or unlabeled chemicals unattended, and do not use an acid soak without the exact approved procedure and protective measures.
Can I run the pump without a cartridge installed?
Do not use that as a routine diagnostic shortcut unless the manufacturer explicitly authorizes it. Operating without the intended media can allow debris into downstream equipment and may violate the filter’s operating instructions.
What if I cannot find the filter manual?
Use the brand and model from the tank label to find the official instructions. If the label is missing or unreadable, do not guess how the pressure vessel opens or how its clamp is tightened; ask the manufacturer or a qualified pool technician.
Official references and further reading
- Pentair Clean & Clear Plus cartridge-filter cleaning guide (PDF) — model-specific pressure relief, rinse, reassembly and startup steps.
- Hayward SwimClear cartridge-cleaning guidance — pressure rise and garden-hose cleaning; no pressure washer.
- CDC: Home Pool and Hot Tub Water Treatment and Testing — sanitation and water-testing context.
Editorial scope: PCB087. This article covers cartridge removal, rinsing, inspection and safe return to service. Sand and DE filter cleaning, and general pressure-fault diagnostics, require separate model-specific procedures. Last reviewed: October 16, 2026.
.jpg)
