Pool Pump Won’t Prime? A Troubleshooting Checklist
Pool pump not priming? Turn it off before it runs dry. Start with the pool water level, skimmer and pump baskets, suction-valve positions, and the pump-lid O-ring. Then refill and restart the strainer housing using your exact pump manual. If water still will not move within the model’s allowed priming period, stop and investigate a suction-side air leak or obstruction instead of repeatedly running the motor. This checklist is for a pump that starts but cannot establish normal water flow—not for a motor that will not turn.
Safety first: Never open a pump lid or filter while the system is energized or pressurized. Shut off power at the appropriate disconnect or breaker, let a hot pump cool, and follow the manufacturer’s pressure-relief procedure. Keep people out of the pool during troubleshooting. A hot or dry-running pump, cracked housing, sparking motor, damaged drain cover, or recurring breaker trip is a stop-and-call-a-professional situation.
What does it mean when a pool pump won’t prime?
Priming means the pump and its suction plumbing have enough water to establish continuous flow from the pool to the filter and back through the return jets. A self-priming pump can evacuate some air, but it cannot overcome every leak, blockage, closed valve, or installation problem. Some above-ground systems are flooded-suction designs that fill by gravity; others must lift water from below pump height. The correct start-up sequence depends on the equipment.
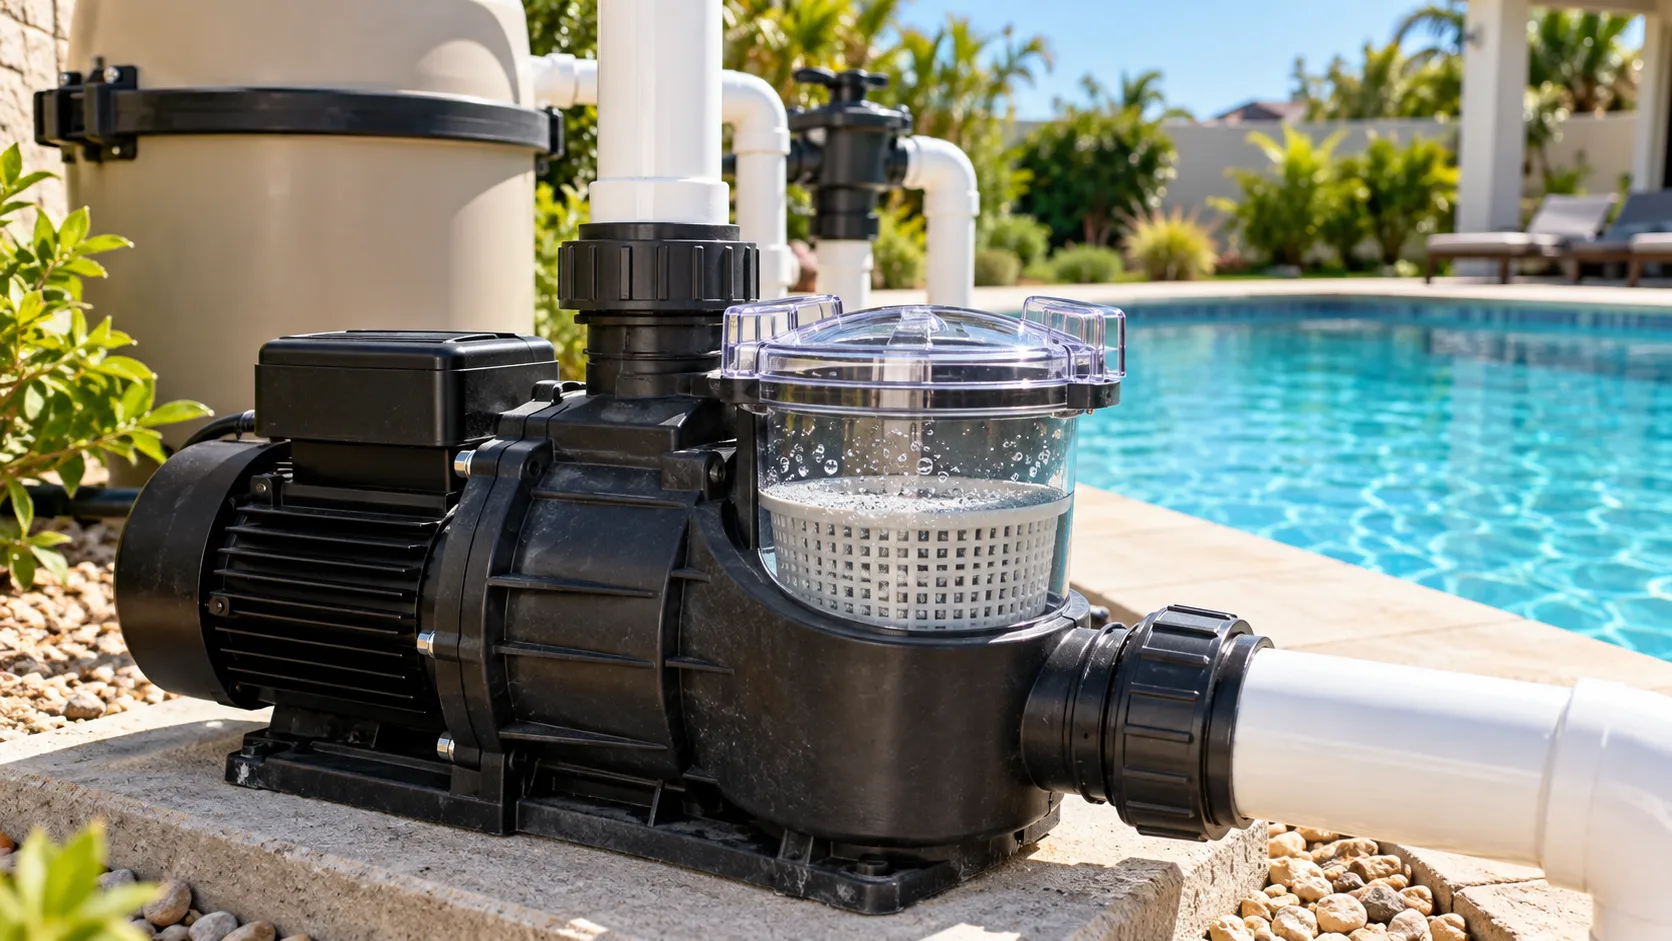
A clear pump strainer lid is useful for observation, but it is not a stand-alone diagnosis. A few bubbles at startup can be normal; persistent large air pockets, little movement at the return jets, and a nearly empty strainer pot indicate that normal circulation has not been established. Do not assume that every low-flow symptom is a failed pump motor.
Quick diagnosis: match the symptom to the next check
| What you observe | Likely area to inspect first | Safe next action |
|---|---|---|
| Pump pot stays nearly empty; returns barely move | Low water, blocked skimmer, closed suction valve, or air entering suction plumbing | Power off; check pool water level, intake path and valve positions. |
| Water enters the pot but large bubbles persist | Lid seal, drain plug, suction union or hose connection | Power off and pressure relieved; inspect accessible seals and fittings. |
| Pot is full, but return flow remains weak | Dirty filter, return restriction or impeller obstruction | Compare filter pressure with your clean baseline; follow filter manual. |
| Motor hums, trips breaker or does not spin | Electrical or motor fault—not ordinary priming | Stop; use a qualified pool-equipment electrician or technician. |
| Pump primes after filling, then loses water again | Recurring suction air leak, drain-back or water-level issue | Document timing and symptoms; inspect accessible suction-side seals. |
Before touching the pump: a safe setup
- Locate the pump’s make and model, then open the official installation/operation manual. Confirm whether it is self-priming or flooded suction and note its startup, valve and air-relief instructions.
- Stop the pump and isolate its electrical supply before removing a lid, basket or plug. Never reach into running equipment.
- Wait for the equipment to cool if it ran dry or feels unusually hot. Follow the manual’s sequence for relieving filter pressure; stay clear of the filter lid and clamp.
- Take a photo of existing valve positions and read labels before changing anything. Do not close off all suction paths or operate a multiport valve while the pump is running.
- Keep the pool unoccupied. If suction outlet covers are damaged, missing or uncertain, do not operate the pool until a qualified professional verifies safety.
Manufacturer example: the Pentair OptiFlo installation and user guide specifies shutting down, relieving pressure, opening the appropriate valves, filling the strainer pot on non-flooded systems and stopping if that particular model has not primed within five minutes. Five minutes is not a universal rule; other models and variable-speed priming programs have different limits.
1. Check the pool water level and skimmer first
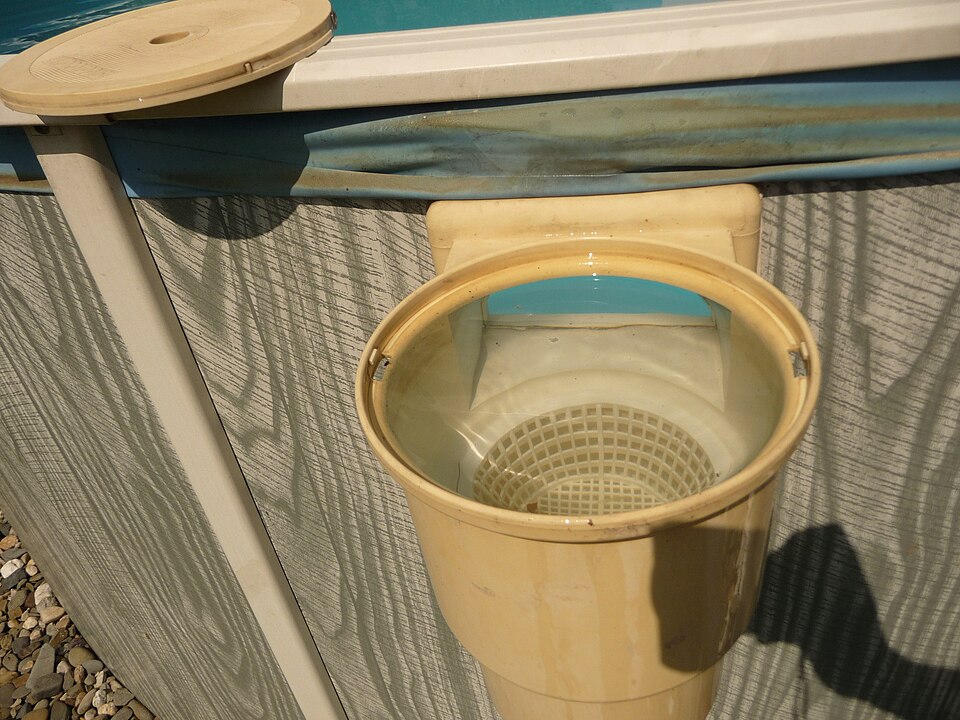
Look at the skimmer opening from the deck. If the water is low enough that the skimmer mouth draws air, the pump cannot receive a steady water supply. For many residential skimmers the normal operating level is around the middle of the opening, but use the pool or skimmer manufacturer’s marked range. Add water only to that range; do not overfill and assume more water will cure a plumbing fault.
With the pump off, inspect the skimmer basket for leaves, toys, hair and other debris. Check that the floating weir door moves freely rather than jamming across the opening. Never remove or defeat a suction fitting cover. If the skimmer is dry despite an apparently adequate water level, examine the weir and plumbing arrangement before restarting.

2. Confirm that water can reach the pump
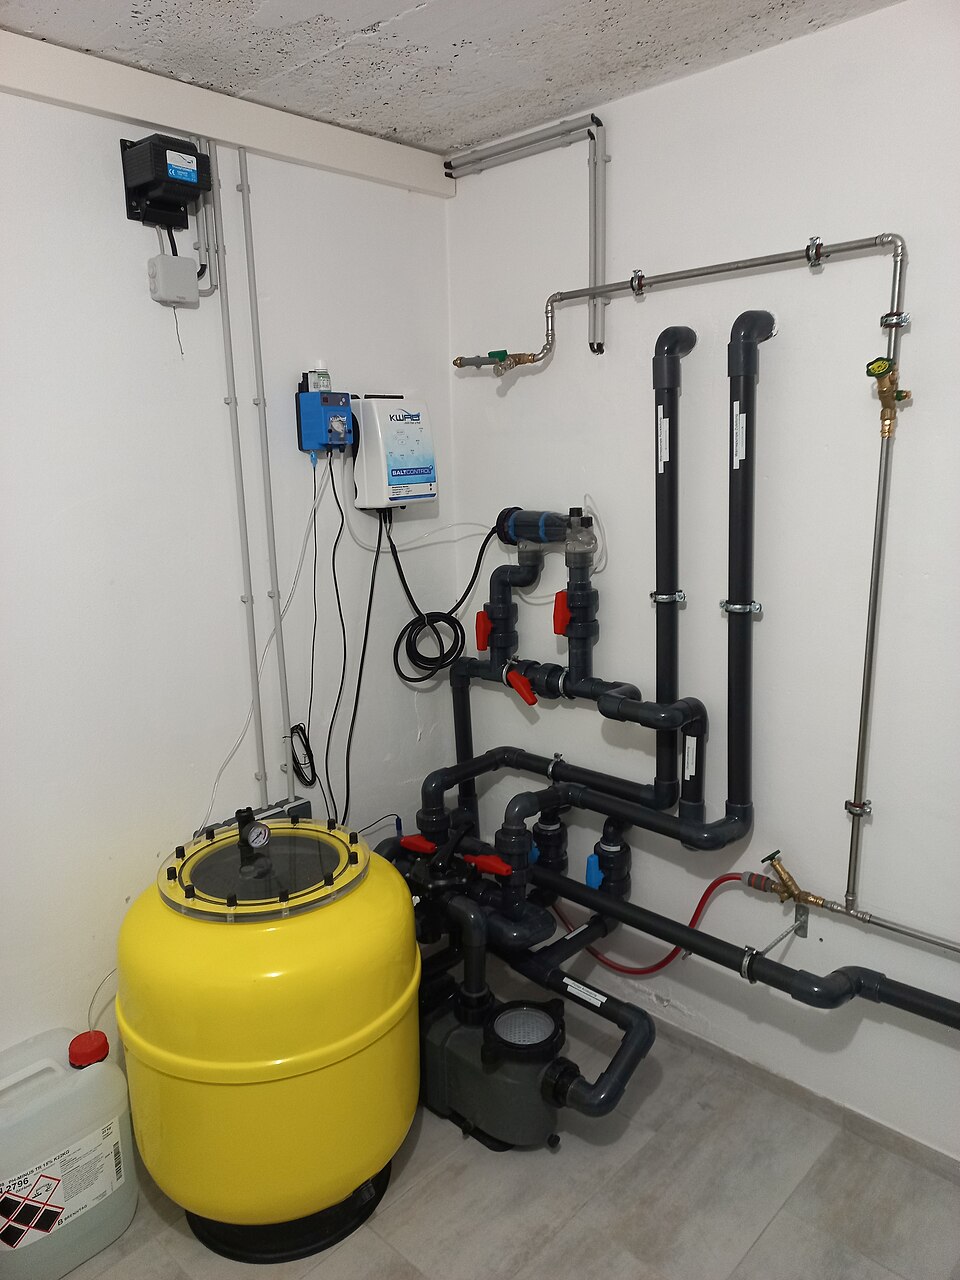
Trace the visible suction path from the skimmer or designated pool intake to the pump inlet. On a typical in-ground installation, several labeled valves may select skimmer and main-drain branches. On an above-ground pool, the path may be a short flexible hose. Check for an accidentally closed valve, a sharply kinked hose, a collapsed section, or a disconnected fitting. Restore the manufacturer’s normal filtration configuration rather than experimenting with unknown valve combinations.
If your pool has multiple suction outlets, do not block or isolate them in a way that could create an entrapment hazard. Leave complex valve balancing and suction testing to a qualified professional. The U.S. Consumer Product Safety Commission’s drain-entrapment guidance explains why suction fittings and compliant covers matter.
3. Clean the pump basket without opening a pressurized system
After the pump is electrically isolated, cooled if necessary, and the system pressure has been relieved according to the manual, open the pump strainer lid. Lift out the basket, clear debris, inspect for cracks, and reinstall it fully. A missing or damaged basket allows debris to reach the impeller and can create more expensive problems. Never run the pump with its basket removed.
A packed basket can restrict the water supply enough to mimic a prime failure. If the basket was heavily clogged, also inspect the pool skimmer and look for a cause such as a recent storm, fallen leaves or a broken basket. Repeated clogging is a maintenance issue; a single basket cleaning may not be a lasting fix.
4. Inspect the pump lid, O-ring and accessible seals
The transparent strainer lid needs an airtight seal. With power off and pressure relieved, wipe grit from the lid’s sealing face and the O-ring groove. Check whether the O-ring is twisted, flattened, brittle, split or missing. Replace damaged seals with the correct part for the pump model; a similar-looking ring is not necessarily the right size or material.

If the manual specifies a compatible silicone-based lubricant, use only the approved amount. Some pump designs have different instructions, so do not automatically apply grease or petroleum jelly. Refit the lid evenly by the manufacturer’s method—often hand-tightening, not a wrench. Also inspect accessible drain plugs and suction unions for loose connections or cracked seals, but do not dismantle pressurized plumbing or apply sealants blindly.
5. Refill and prime the pump using its own manual
After correcting visible supply and seal problems, use the manufacturer-approved start-up sequence. The following is a decision guide, not a substitute for the instructions for your specific pump.
- Confirm that all required valves are in the normal, open operating positions and the pump basket is seated.
- For a pump that requires manual priming, fill the strainer housing with clean water to the level specified by the manufacturer; some flooded-suction systems fill automatically.
- Check the lid seal, reinstall the lid and secure it exactly as instructed.
- Operate the filter’s manual air-relief valve only if and as directed by its manual, standing clear of the filter housing.
- Restore power and start the pump using the approved priming speed or program. Observe the clear lid, return flow and filter behavior from a safe position.
- If continuous water flow is not established within the model’s specified time, shut down. Never leave a pump running dry to ‘see if it catches.’
Do not improvise with closed discharge valves or arbitrary motor-speed settings. A variable-speed pump’s priming program and maximum allowed priming time can differ from those of a single-speed pump. Repeated unsuccessful attempts can damage seals and cause overheating. If a dry-running pump became hot, do not immediately loosen the lid: trapped hot water and vapor can be hazardous.
6. If the pump pot fills but water flow is still weak
Once the strainer housing stays full, the remaining problem may be on the discharge side rather than a failure to prime. Check the filter pressure against the clean, normal pressure for your own system; there is no single PSI that is correct for every pool. Low pressure with poor flow can point toward insufficient suction, a restriction before the pump or an instrument issue. High pressure with weak return flow can point toward a dirty filter or restriction after the pump.
Clean or backwash the filter only by its model-specific instructions. Do not move a sand-filter multiport handle while the pump runs. If the pressure gauge is damaged or readings are unfamiliar, have the system inspected instead of forcing a valve position or opening a pressurized filter.
7. Recognize suction-side air leaks and hidden blockages
Air may enter the suction line without leaving a puddle, because that part of the plumbing operates under vacuum. Clues include persistent large bubbles under the strainer lid, return jets that spit air long after startup, a basket that fills and empties, or priming that succeeds only briefly. Accessible suspects include the lid O-ring, drain-plug seals, union O-rings, valve stems and flexible hose connections.
A crack in a suction pipe, a blockage deep in the line, excessive suction lift, or a restricted impeller can produce similar symptoms. Do not insert fingers or tools into an impeller or cut open a line to test a theory. A pool professional can use appropriate vacuum and flow measurements, examine the wet end, and distinguish a suction leak from an obstruction without unnecessary part replacement.
Special cases: above-ground pools and variable-speed pumps
Above-ground pools
Many above-ground systems position the pump below the pool water level so water fills the pump by gravity when the correct valves are opened. If yours does not fill, focus first on a closed shutoff, blocked skimmer or hose, kinked flexible line, or trapped air. Do not assume a flooded-suction design requires the same manual filling procedure as an in-ground self-priming pump. For the wider routine, see our above-ground pool maintenance guide.
Variable-speed pumps
A variable-speed pump may start a programmed priming cycle at a speed different from its everyday filtration speed. If the pump reports a priming error, compare the displayed code and settings with its exact manual before changing them. The correct response may be a plumbing or seal repair, not a higher RPM. Do not override safety protections or run an excessively long priming cycle.
When to stop and call a pool professional
- The pump hums but does not rotate, repeatedly trips a breaker, smells hot or produces smoke, sparks or unusual grinding sounds.
- The strainer housing or filter is cracked, leaking under pressure, or too hot to approach safely.
- Any suction drain cover is missing, broken or of uncertain compliance; keep swimmers out until it is assessed.
- Basic water-level, basket, valve and O-ring checks do not restore normal flow within the manufacturer’s permitted priming procedure.
- Water or air leaks appear to originate in buried plumbing, inaccessible unions, the pump shaft seal or internal impeller.
- You cannot positively identify the equipment or understand its pressure-relief and valve configuration.
Electrical work, motor capacitor testing, pressure-vessel repairs, suction-line isolation and underground leak testing are not appropriate trial-and-error DIY jobs. The safest decision is to leave the system off until the fault is identified.
After the pump primes: verify normal circulation
- Check that the pump basket remains filled appropriately for that model and the returns deliver steady water rather than continuous large bursts of air.
- Confirm the filter pressure is consistent with your documented clean-filter baseline and the manufacturer’s normal operating range.
- Inspect accessible fittings from a safe distance for leaks, without touching moving or energized components.
- Record the symptom, what you checked, the pump model and the result. If the problem returns after shutdown, that is a recurring loss-of-prime diagnosis and should be tracked separately.
- Resume normal pool-care checks, including sanitizer and pH testing, before swimming. Our pool water testing guide covers those readings.
Prevent another failed prime
Build a brief equipment inspection into your pool maintenance schedule: keep the skimmer and pump baskets clear, monitor water level, inspect visible hoses and unions, and record clean-filter pressure. Clean and inspect the lid seal whenever the strainer is opened, using the pump manufacturer’s care instructions. A change from the usual flow or an increase in bubbles is worth investigating before it becomes a no-flow event.
New to the equipment pad? Our first-month pool maintenance guide explains how circulation fits alongside water testing and cleaning. It does not replace the pump’s technical manual.
Common questions
Why is my pool pump running but not pulling water?
If the motor runs but the basket will not fill, check water level, skimmer obstruction, valve positions and suction-side air leaks before assuming the motor is faulty. If the basket fills but returns remain weak, assess filter pressure and downstream restrictions.
Should I keep restarting a pump that won’t prime?
No. Stop when the pump’s manual says to stop. Correct a specific problem before another attempt; repeated dry starts can overheat and damage equipment.
Can a dirty filter cause a priming problem?
A dirty filter can restrict circulation, but a pump housing that will not fill usually calls for checking the suction supply and lid seal first. Compare the pressure reading with the system’s known clean baseline rather than guessing from a universal PSI number.
Is this the same as a pump that loses prime overnight?
Not exactly. Failure to establish flow at startup and loss of previously established flow can overlap, but overnight drain-back and recurring air entry need a separate investigation. Record whether the system ever primed successfully.
Primary sources and further reading
- Pentair OptiFlo Aboveground Pool Pump Installation and User’s Guide (PDF) — model-specific priming, pressure relief, O-ring care and dry-running warnings.
- Pentair WhisperFloXF VS / Max-E-ProXF VS manual (PDF) — an example of how priming programs differ by model.
- U.S. Consumer Product Safety Commission: swimming pool/spa drain entrapment — suction-fitting safety standards.
Editorial note: This article explains observable symptoms and safe owner-level checks. It does not claim that Pool Care Base personally tested the equipment. Your pump and filter manuals take precedence over general troubleshooting advice.