Pool Maintenance for Beginners: A Practical First-Month Guide
New to pool ownership? Start with four habits: test sanitizer and pH regularly, remove debris, keep water circulating through a working filter, and record what you change. This first-month plan shows what to do on day one, during your first week, and over the next three weeks—without guessing chemical doses or assuming every pool uses the same equipment.
Quick answer: For a typical residential chlorine pool, check free chlorine and pH at least twice daily while learning your pool, skim debris as needed, inspect water level and circulation daily, and brush/vacuum on a practical weekly rhythm. Adjust only after testing, following the product label and your equipment manuals. Do not swim if sanitizer/pH are out of the applicable safe range, water is too cloudy to see the bottom, or circulation is malfunctioning.
Your first month at a glance
| When | Main objective | What to record |
|---|---|---|
| Day 1 | Identify pool volume, sanitizer type, equipment and safe operating instructions. | Gallons, pump/filter models, clean filter pressure, test kit. |
| Days 2–3 | Establish reliable free-chlorine and pH readings; verify circulation. | Morning/evening readings and pump behavior. |
| Days 4–7 | Practice a repeatable cleaning routine; inspect the pool for leaks and hazards. | Debris load, water level, visible changes. |
| Week 2 | Fine-tune your maintenance routine based on weather and use. | Trends in chlorine demand and filter pressure. |
| Week 3 | Check broader water balance and equipment condition. | Alkalinity, stabilizer/hardness as applicable, issues. |
| Week 4 | Review logs and set a sustainable ongoing routine. | Supplies to replace and tasks needing a professional. |
This is a learning roadmap, not a rigid chemical treatment schedule. Rain, heat, bather load, shade, a saltwater chlorine generator, and the size and design of the pool all change what maintenance is needed.
Day 1: Learn your pool before adding anything
1. Identify your system
- Find the pool’s approximate water volume in US gallons (and liters if useful). Use the builder’s records or measure the pool; do not assume a nominal size equals its filled volume. As a unit reference, 1,000 US gallons is about 3,785 liters.
- Determine whether it uses manually dosed chlorine, a saltwater chlorine generator, bromine, or another approved system. Saltwater pools still generally rely on chlorine generated from salt.
- Read the pump, filter, heater, chlorinator and automatic controller manuals. Locate the circuit breaker and understand safe shutdown and restart procedures.
- Identify the filter type—cartridge, sand, or diatomaceous earth (DE)—because cleaning methods are not interchangeable.
- Confirm barriers, self-closing gates and access controls are functioning before anyone swims.
2. Gather only the tools you need
- A reliable DPD-based water test kit for free chlorine and pH, plus appropriate reagents for other parameters. Follow the kit’s expiration and storage instructions.
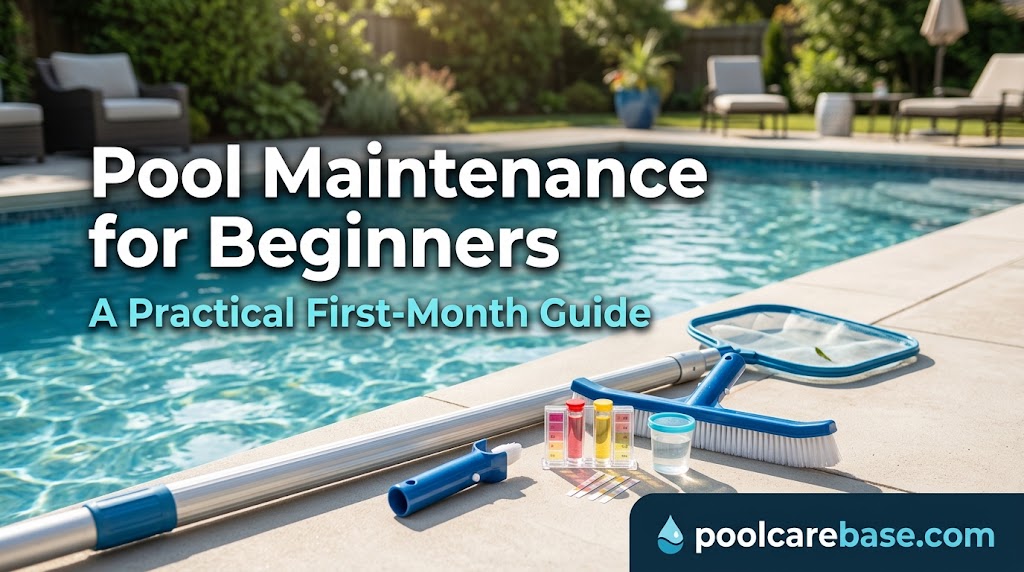
- A telescoping pole, leaf skimmer, pool-compatible brush, and vacuum or automatic cleaner suitable for the surface.
- A notebook or simple spreadsheet for date, time, free chlorine, pH, temperature, chemical additions, filter pressure and unusual events.
- Gloves and eye protection specified by chemical labels; a dry, secure, ventilated place for chemicals in their original labeled containers.
Do not buy every treatment marketed for pools on day one. Testing results and your equipment manual should determine which products you actually need.
3. Establish a clean filter-pressure baseline
With the system operating normally and the filter clean according to its manual, record the pressure gauge reading in psi. This is your own baseline, not a universal target. A later rise or unusual drop may indicate a restriction, dirty filter, low water, suction problem or gauge fault. Use your filter manufacturer’s specific threshold and service instructions rather than a generic psi rule.
Inspect skimmer and pump baskets, but switch off power and release pressure as the manufacturer directs before opening equipment. Never open a hot or pressurized pump or filter. The Pentair SuperFlo pump manual explains why a pump that has run dry may contain dangerously hot water.
Days 2–3: Learn how to test pool water
For home pools, the CDC recommends testing free chlorine and pH at least twice a day, with more frequent checks during heavy use. Test at consistent times—for example, before the first swim and later in the day—and follow the test kit’s sampling depth and procedure. A DPD kit generally offers better accuracy than basic strips.
| Measurement | Beginner’s interpretation | Important qualification |
|---|---|---|
| Free chlorine (FC) | CDC minimum: at least 1 ppm for a pool without cyanuric acid (CYA). | If CYA/stabilized chlorine is used, CDC minimum is at least 2 ppm. Follow applicable local requirements and product guidance; minimum is not a dosing target. |
| pH | CDC recommended range: 7.0–7.8. | pH outside this range can reduce disinfection performance or damage equipment. |
| Total alkalinity (TA) | Helps explain pH stability. | Target depends on pool surface, chemistry and product/system guidance; do not treat one number as universal. |
| Cyanuric acid (CYA) | Stabilizer can protect chlorine from sunlight but changes how chlorine behaves. | Check whether it is already present in your chlorine product; excess stabilizer can complicate care. |
| Calcium hardness | Relevant to scale/corrosion risk, especially some pool finishes. | Targets vary by surface, water balance and manufacturer guidance. |
Example: If a chlorine pool with CYA tests at 1 ppm free chlorine, the CDC’s minimum for a stabilized pool is not met. Keep swimmers out while you confirm the reading and correct it using the specific product’s instructions. The correct amount depends on water volume, product strength, current chemistry and other conditions; a universal scoop or cup amount would be unsafe.
A reading of 0 ppm can sometimes be misleading when chlorine is very high: CDC notes that some tests may bleach out above their range. If a result conflicts with the pool’s condition or recent additions, repeat with an appropriate high-range method or consult a qualified pool professional rather than adding more chemicals blindly.
Days 4–7: Build the cleaning and circulation habit
- Skim and look: remove leaves, insects and floating debris as needed. Check whether you can clearly see the deepest point and that drains and fittings appear intact.
- Check water level: keep it within the skimmer/equipment manufacturer’s operating range. A low level can allow air into the system; persistent unexplained loss may indicate a leak.
- Observe circulation: check return flow, unusual noises, leaks, air bubbles, error codes and filter pressure while the system runs.
- Brush and vacuum: work around steps, corners, waterline and other low-flow areas using tools approved for your pool finish. Vacuum settled debris without disturbing it excessively.
- Inspect baskets: clean skimmer and pump baskets when needed, only after the safe equipment shutdown/pressure-release procedure.
- Test, then adjust: make chemistry changes only when measurements and the product label support them. Allow the prescribed circulation and retest interval before deciding whether another change is necessary.
There is no single safe pump run time for every pool. Required circulation depends on pump speed, flow, filter design, turnover goals, sanitizer system and local conditions. Start with the equipment maker’s guidance, then use water clarity, sanitizer performance and professional advice to adjust. Do not turn a generic “8 hours” recommendation into a substitute for verifying actual flow.
Weeks 2–4: Turn observations into a routine
Week 2 — Look for patterns, not one-off numbers
Compare morning and evening test results. A sunny day, party, heavy leaf fall or rainstorm may create a different chlorine demand than a quiet day. Record what happened before changing your routine. If sanitizer repeatedly drops below the applicable minimum, investigate the cause rather than simply increasing the next dose without a diagnosis.
Week 3 — Check the less-frequent measurements
Use your test kit and pool/surface manufacturer recommendations to review alkalinity, calcium hardness and CYA if applicable. These parameters are often checked less often than chlorine and pH, but they affect long-term water balance. Saltwater systems may also require salt and cell checks according to their manual. Seek advice if multiple readings conflict or you are unsure how changes interact.
Week 4 — Review equipment and your maintenance log
Compare current filter pressure with your clean baseline. Inspect accessible seals, visible pipework and electrical enclosures without opening live electrical equipment. Check that timers, automation and safety barriers still work. Refill or replace expired test reagents and worn cleaning tools; set reminders for manufacturer-required maintenance. This review prepares you to follow a consistent schedule without repeating the same troubleshooting every week.
A simple daily and weekly checklist
| Frequency | Task | Reason |
|---|---|---|
| At least twice daily | Test and log free chlorine and pH; more often with heavy use. | Protect swimmers and catch changing chemistry early. |
| Daily / as needed | Look at clarity, water level, return flow and obvious hazards; skim leaves. | Spot circulation or safety issues before swimming. |
| Weekly / as needed | Brush surfaces and vacuum settled dirt. | Remove debris that filtration alone may miss. |
| Weekly / as needed | Inspect baskets and filter pressure; clean per equipment manual. | Reduce flow restrictions and equipment strain. |
| Periodically / as indicated | Check alkalinity, CYA, calcium hardness and system-specific readings. | Understand the wider balance; avoid unnecessary products. |
| Monthly | Review logs, equipment condition and chemical storage. | Catch recurring problems and prevent unsafe storage. |
The twice-daily testing recommendation is from CDC; other task intervals above are a practical starting checklist that should be adjusted to your pool and manufacturer instructions. A separate, detailed pool maintenance schedule is planned for this site; this first-month guide focuses on learning the system and making good decisions.
Common beginner mistakes—and better alternatives
- Adding chemicals because the water looks clear: clear water can still have inadequate sanitizer. Test first.
- Using a one-size-fits-all chlorine dose: calculate from verified pool volume, product concentration and label instructions, or ask a professional.
- Assuming saltwater means chemical-free: saltwater generators make chlorine, and pH and sanitizer still require testing.
- Backwashing or disassembling a filter on a fixed calendar: use the filter’s own instructions, pressure trend and condition; never service a pressurized vessel.
- Ignoring a weak return or noisy pump: check for obvious restrictions only using safe shutdown procedures; stop and seek service if the cause is unclear.
- Mixing old and new products: never combine different pool chemicals, especially chlorine products with acids, and never reuse chemical containers.
- Confusing water clarity with swim safety: close the pool when the bottom cannot be seen, sanitizer is inadequate, or safety barriers are compromised.
When to stop DIY maintenance and call a professional
- Persistent cloudy or green water despite verified testing and correct filtration, or recurring unsafe sanitizer readings.
- An electrical fault, tripping breaker, burning smell, damaged cable, or water near electrical equipment—keep away and contact a qualified electrician/pool technician.
- A leaking or cracked pressurized filter, failed pump, hot pump housing, unusual pressure behavior or suspected suction entrapment hazard.
- Possible structural damage, significant water loss, shifting decking, compromised fencing or a missing/damaged drain cover.
- A chemical spill, strong fumes or possible exposure: leave the area, keep others away and follow emergency instructions. In the United States, call 911 for emergencies or Poison Control at 1-800-222-1222 for exposure guidance.
Pool chemical safety is part of maintenance
Store chemicals locked away from children and pets, dry and separated by compatibility, in their original labeled containers. Read the entire label and safety data sheet before use; wear the specified protective gear and keep chemicals out of direct heat and moisture. Never mix chlorine products with each other or with acid. If a label specifically requires pre-dissolving, follow its method; do not improvise. See the CDC pool chemical safety guidance and the EPA chemical safety alert.
Pool care also means drowning prevention: provide close, continuous supervision and maintain a four-sided fence with a self-closing, self-latching gate where required. Chemical testing and clear water do not replace these layers of protection. The CDC swimming safety guide explains these basics.
Your end-of-month success check
- You know your pool’s approximate water volume and the type of sanitizer and filter it uses.
- You can test free chlorine and pH reliably and explain why the results matter.
- You have a record of normal circulation, filter pressure and how the pool responds to weather and swimming.
- You can safely skim, brush and vacuum without damaging the finish or opening pressurized equipment.
- You know when to stop swimming, when to call a technician, and how to store chemicals safely.
Bottom line: Pool maintenance for beginners is less about buying chemicals and more about building a repeatable test–observe–clean–verify cycle. Use the first month to learn how your particular pool behaves; that knowledge makes every future maintenance decision safer and easier.
Primary references and editorial scope
- CDC: Home Pool and Hot Tub Water Treatment and Testing — sanitizer/pH guidance and testing frequency.
- CDC: Pool Chemical Safety — handling, storage and emergency precautions.
- CDC: Guidelines for Keeping Your Pool Safe and Healthy — drowning and illness prevention.
- Pentair: SuperFlo Pump Manual — an example of model-specific pump service warnings. Always use the manual for your exact equipment.
- US EPA: Safe Storage and Handling of Swimming Pool Chemicals — chemical hazard prevention.
Scope: This educational guide covers typical residential pools in the United States. It is not a chemical dosing prescription, a substitute for local rules or equipment manuals, or an account of firsthand testing by Pool Care Base. Pools with bromine, commercial operations, special surfaces and automated systems may require different procedures.